
ISO 10218 & ISO/TS 15066 Explained for Cobot Users
ISO 10218 and ISO/TS 15066 Explained for Cobot Users
If you are specifying your first collaborative robot, two document numbers show up almost immediately: ISO 10218 and ISO/TS 15066. Together they decide whether your cell needs a fence, how fast the robot may move next to an operator, and what you have to write down before the machine goes into production. This guide explains ISO 10218 and ISO/TS 15066 for cobot users in plain language, and shows what it means in practice when you install a Fairino cobot.
Why cobot safety standards exist
The most useful thing to understand about cobot safety is this: a robot arm is never safe or unsafe on its own. The application is.
A cobot is supplied as a partly completed machine. The moment you bolt on a gripper, put a workpiece in it and place it next to a workbench, you have created a new machine, and you are responsible for it. Two identical cobots can end up in completely different safety categories: one handling foam blocks slowly with no fence, the other moving a sharp sheet-metal part at full speed behind a scanner.
The standards give everyone a shared method for judging that difference, so your risk assessment, your insurer and your customer all speak the same language.
ISO 10218-1 and ISO 10218-2: what each part covers
Part 1: the robot itself
ISO 10218-1 sets requirements for the robot manufacturer. It covers safety-rated control functions, stop categories, axis and speed limiting, single point of control, protective stops and the reliability level those safety functions must reach. This is the part your supplier answers for. Ask for the safety manual and the declaration that comes with the arm; for Fairino cobots you will find that documentation on our support and downloads page.
Part 2: the robot system and integration
ISO 10218-2 is the part most users underestimate, because it covers your cell: end effector hazards, layout, part presentation, guarding, verification and validation, and the instructions you hand to the operator. It says clearly that the complete application must be risk assessed. If you integrate the cobot yourself, you take on the integrator role and the paperwork that comes with it.
ISO/TS 15066: the collaborative detail layer
ISO/TS 15066 is a technical specification rather than a full standard. Published in 2016, it fills in the detail that ISO 10218 left open about collaborative operation. Its best known contribution is a table of biomechanical limits per body region, based on where pain begins, which is used to derive allowable speed, force and contact pressure when a robot may touch a person.
Two contact types matter in that table:
- Transient contact: a free impact where the person can move away, for example a light bump on the forearm. Higher limits apply.
- Quasi-static contact: clamping or trapping against a fixed surface, for example a hand pinned between the tool and a table. Much stricter limits apply.
In practice the clamping case is what forces most design changes, so remove pinch points early. If your question is mainly whether you can skip the cage, start with do cobots still need a safety fence.
The four collaborative operation modes
Both documents describe four ways a robot and a person can share space. You may combine several of them in one cycle, and most real cells do.
- Safety-rated monitored stop: the robot holds position with power on while a person is in the workspace, and resumes when they leave. Common for manual loading of a fixture.
- Hand guiding: the operator moves the robot by hand using an enabling device. Used for teaching and for assisted lifting.
- Speed and separation monitoring: a safety laser scanner or similar device keeps a protective distance. The robot slows as someone approaches and stops if they get too close. This is the mode that lets you run at production speed and still work alongside the cell.
- Power and force limiting: the robot is designed and programmed so that any contact stays under the biomechanical limits. This is the mode people usually mean when they say cobot.
Power and force limiting in practice
Power and force limiting is not a switch you turn on. It is the result of the whole application:
- Round off edges on grippers, fixtures and covers, and remove trap points between the tool and any fixed surface.
- Remember the workpiece. A safe robot holding a sharp part is still an unsafe application.
- Reduce speed in the zones where contact is possible, rather than slowing the entire cycle.
- Consider gripper weight and inertia. More payload means more energy in a contact.
- Validate with a force and pressure measuring device, then record the readings in your file. A calculation on paper is not validation.
- Use a force torque sensor where the process itself needs controlled contact, such as assembly or finishing.
What the 2025 revisions change
New editions of ISO 10218-1 and ISO 10218-2 were published in 2025, replacing the 2011 editions. Broadly, the collaborative content that lived in ISO/TS 15066 has been pulled into the standards themselves, safety functions and robot classes are described more explicitly, and there is more attention for validation and for cybersecurity of the safety related control system.
National adoption and the harmonised listing follow on their own timeline, so many projects running today are still documented against the 2011 editions. Two practical takeaways: ask your supplier which edition their documentation references, and design new cells so they can meet the newer requirements without a rebuild.
How this fits European law
Standards are voluntary; the law is not. Today the Machinery Directive 2006/42/EC applies, and the Machinery Regulation (EU) 2023/1230 applies from 20 January 2027. Following harmonised standards gives you a presumption of conformity, which is the practical reason to use them.
Whoever puts the finished cell into service still has to carry out a risk assessment, build a technical file, CE mark the assembly, issue a declaration of conformity and supply instructions in the local language.
A short checklist for your cobot cell
- Write the risk assessment for the application, not for the robot.
- List every hazard the tool and the workpiece add.
- Choose a collaborative mode per phase of the cycle.
- Design out pinch and trap points before you buy tooling.
- Set and verify the safety limits in the controller.
- Measure forces and pressures where contact is possible.
- Train operators and document what they were told.
- Repeat the assessment whenever the gripper, part or layout changes.
Where Fairino cobots fit
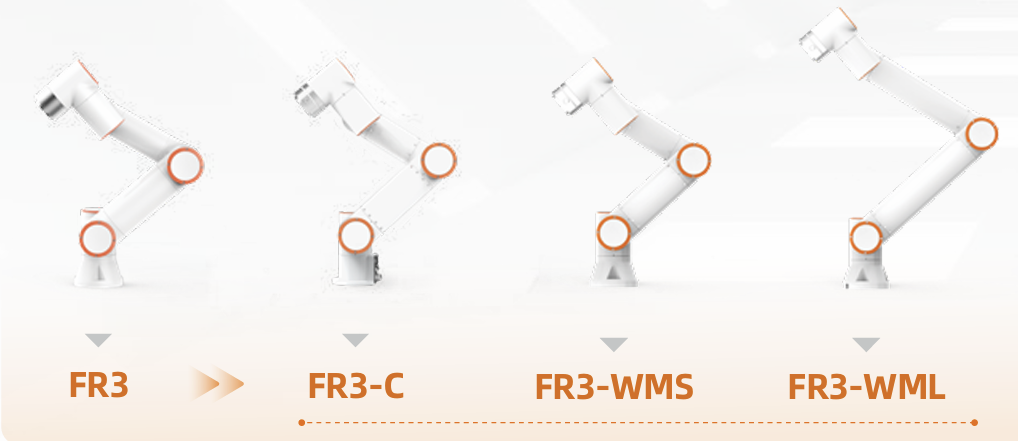
Fairino FR series cobots come with safety rated control functions and the documentation you need for your file, and the range runs from the compact FR3 at 3 kg through the FR5 and FR10 up to the 30 kg FR30. You can compare the full range on our products page, and see finished installations in our customer cases.
As the European distributor, TMC Robotics helps with the part most people find hardest: choosing the collaborative mode, the guarding and the tooling so that the cell is both compliant and fast enough to pay for itself.
Veelgestelde vragen
Does ISO/TS 15066 replace a risk assessment?
No. It gives you the limit values to design against, but you still have to identify the hazards of your own application and prove you have reduced them.
Is a cobot automatically fenceless?
No. Fenceless operation is a possible outcome of the risk assessment, never a starting assumption. Speed, tooling and workpiece decide it.
Do I need to redo the assessment if I only change the gripper?
Yes, if the change affects the hazards. A heavier or sharper tool changes contact forces, so treat it as a new application.
Which part applies to me as an end user?
Mostly ISO 10218-2, because it covers the integrated system. If you build the cell yourself, you take the integrator obligations that go with it.
Talk it through with us
Not sure which collaborative mode your application needs, or whether you can run without a fence? Request a quotation and we will size the cobot, the safety devices and the tooling together, or simply get in touch with your drawings and we will tell you honestly what the application will need.
